
|
Bass guitar blog:
Jan 22th 2012
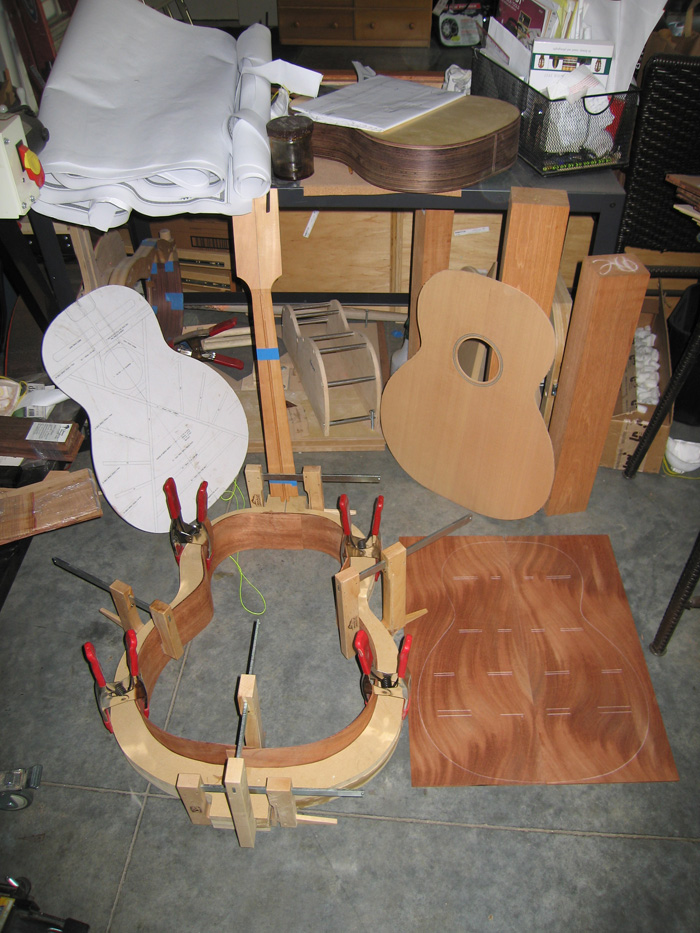
With my brothers the Parlor guitar going in to the finsihing room, I pulled out my Mark Stanley Bass guitar kit that
I got this kit in August. I bought a kit because it is not a size guitar that I will probably build again and I can avoid building a large bending form.
The guitar will have:
Red Cedar Top
Mahogany back and sides
Fretless Rosewood fingerboard with black fiber glued into the fret slots of a slotted finger board and ebony bindings.
It will have a few interesting features I need to work through. This guitar is suppose to have a pretty good unamplified sound, but it is still a bass so I will add both an acoustic pickup and an internal microphone plus an internal mixer. I am going to build an access port next to the end block for a battery mount and access to the electronics.
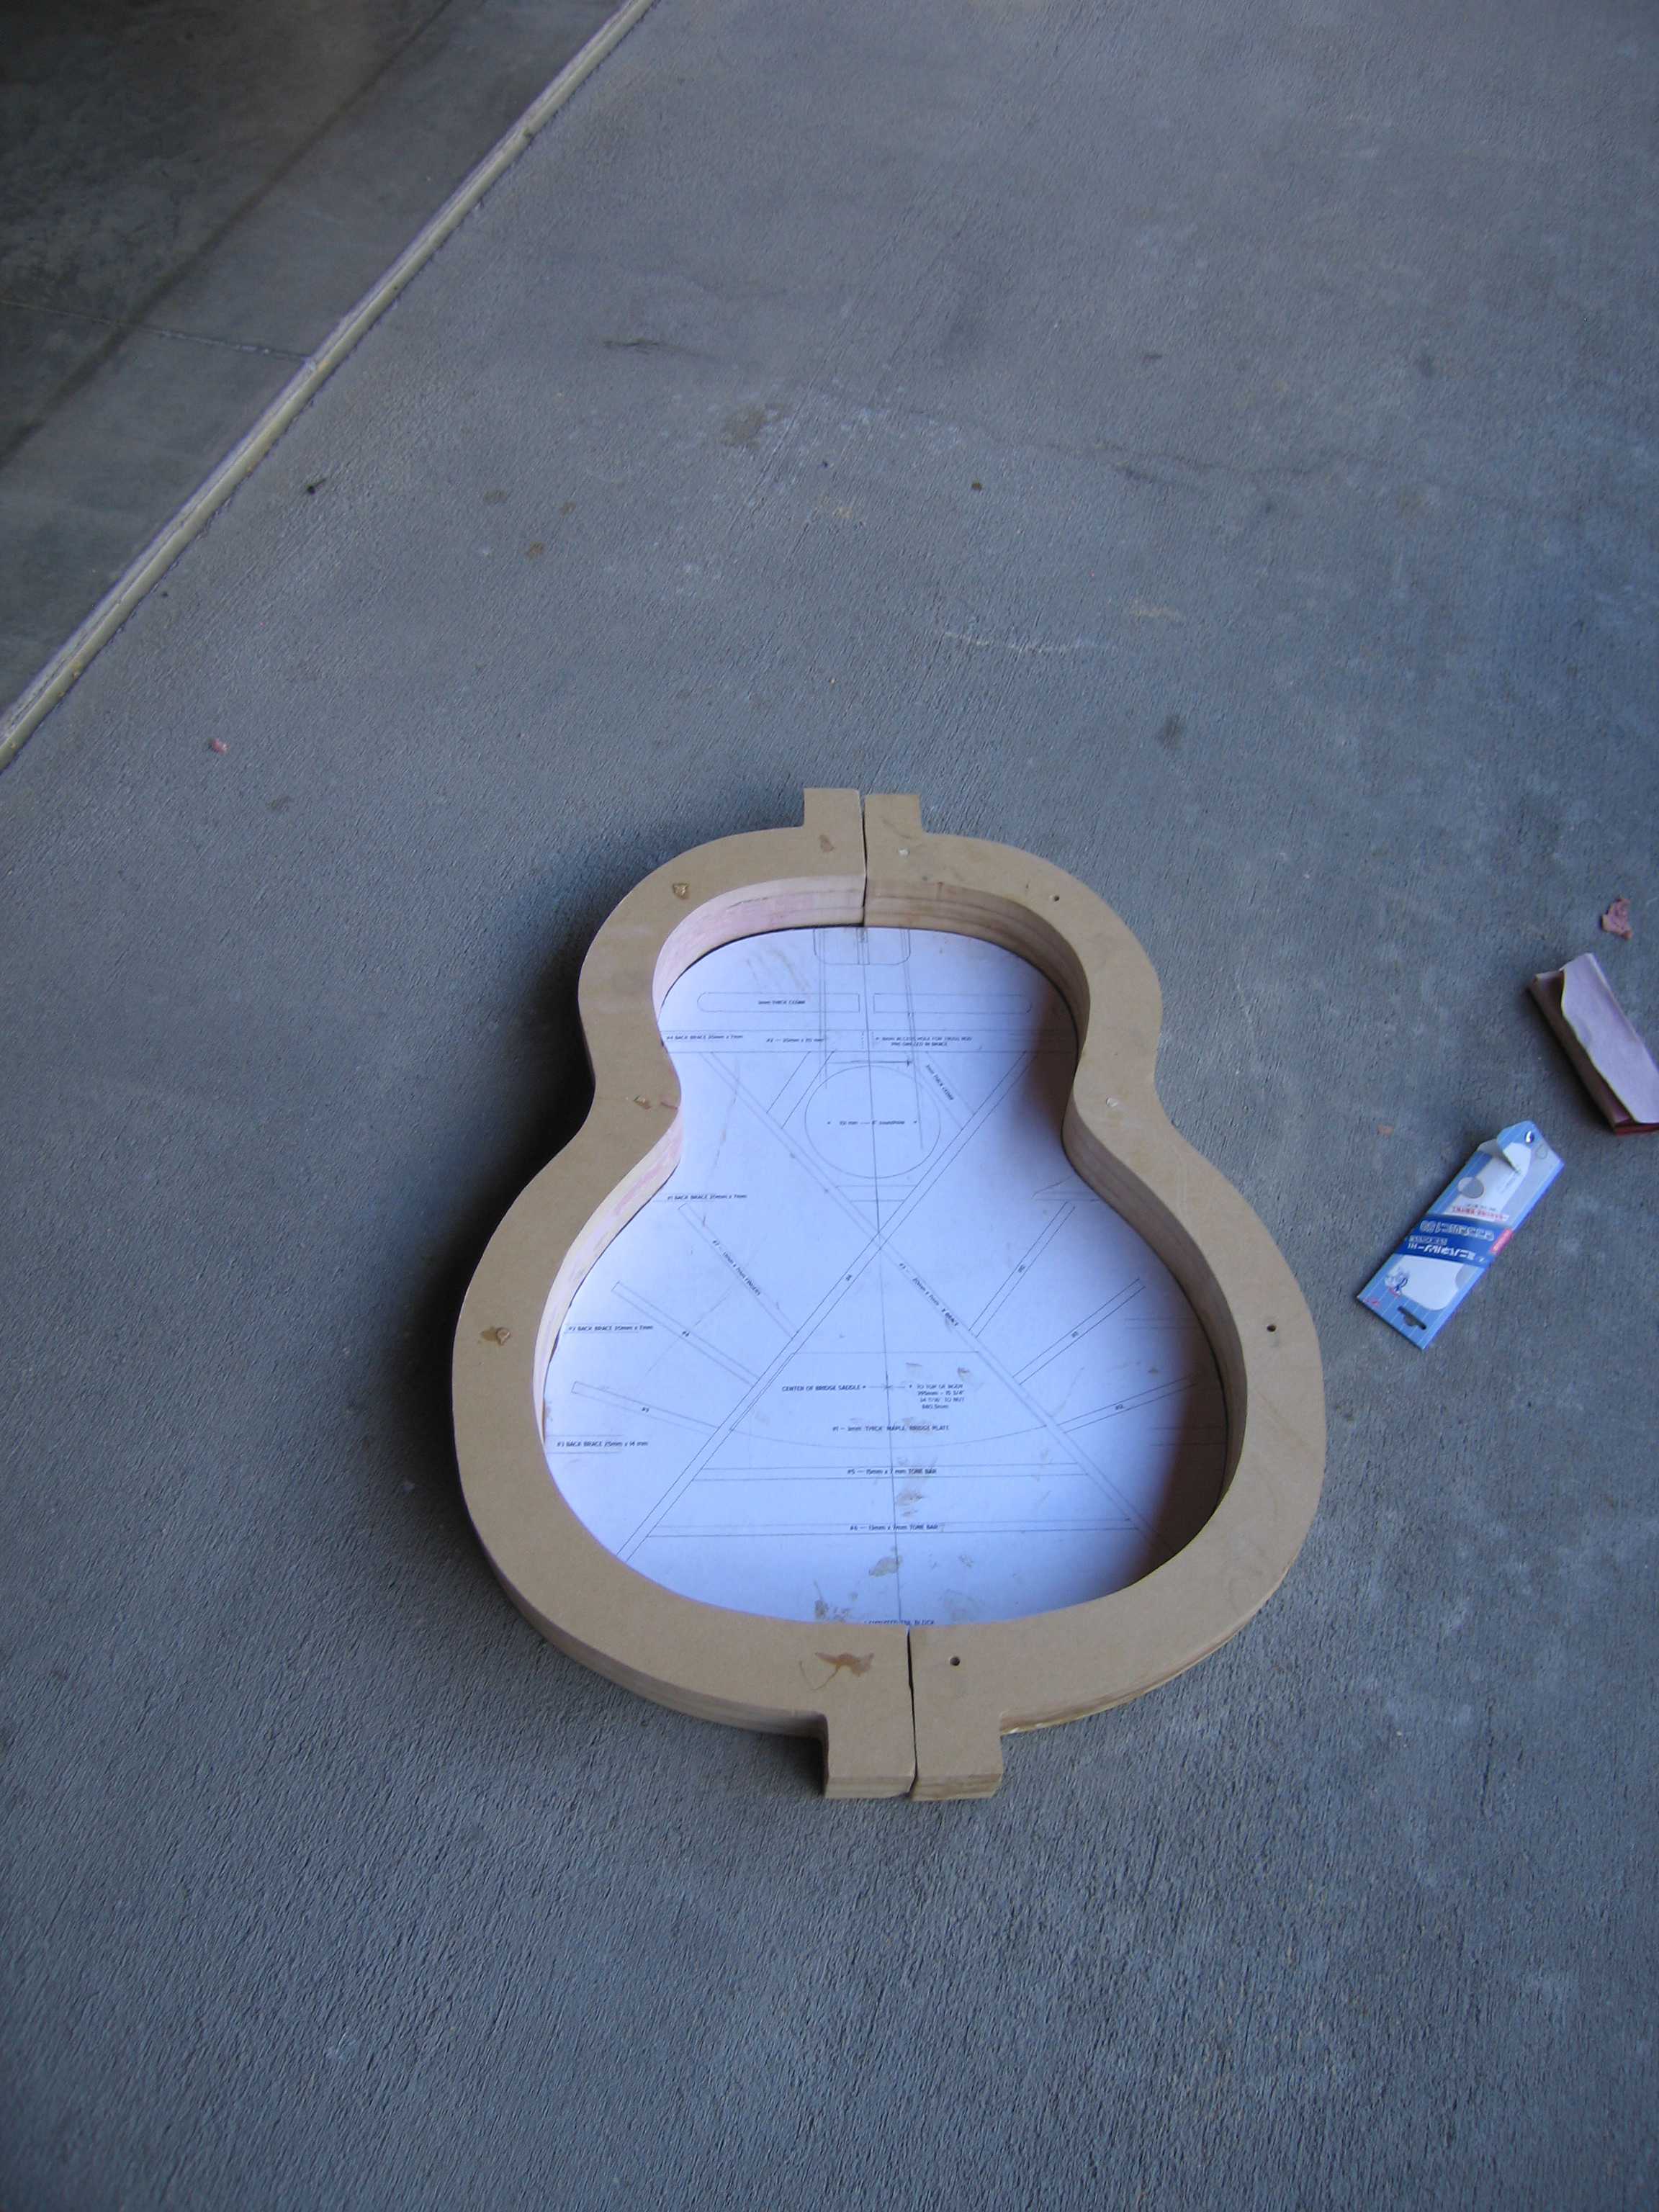
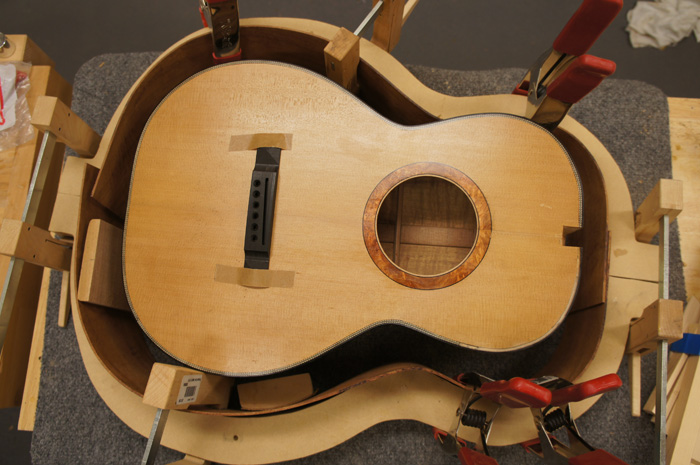
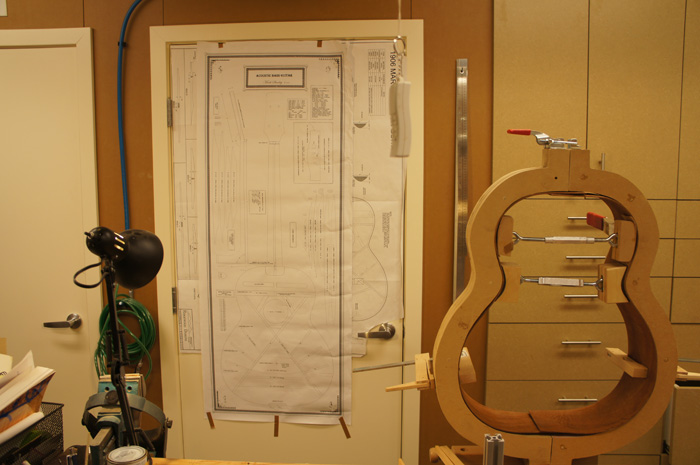
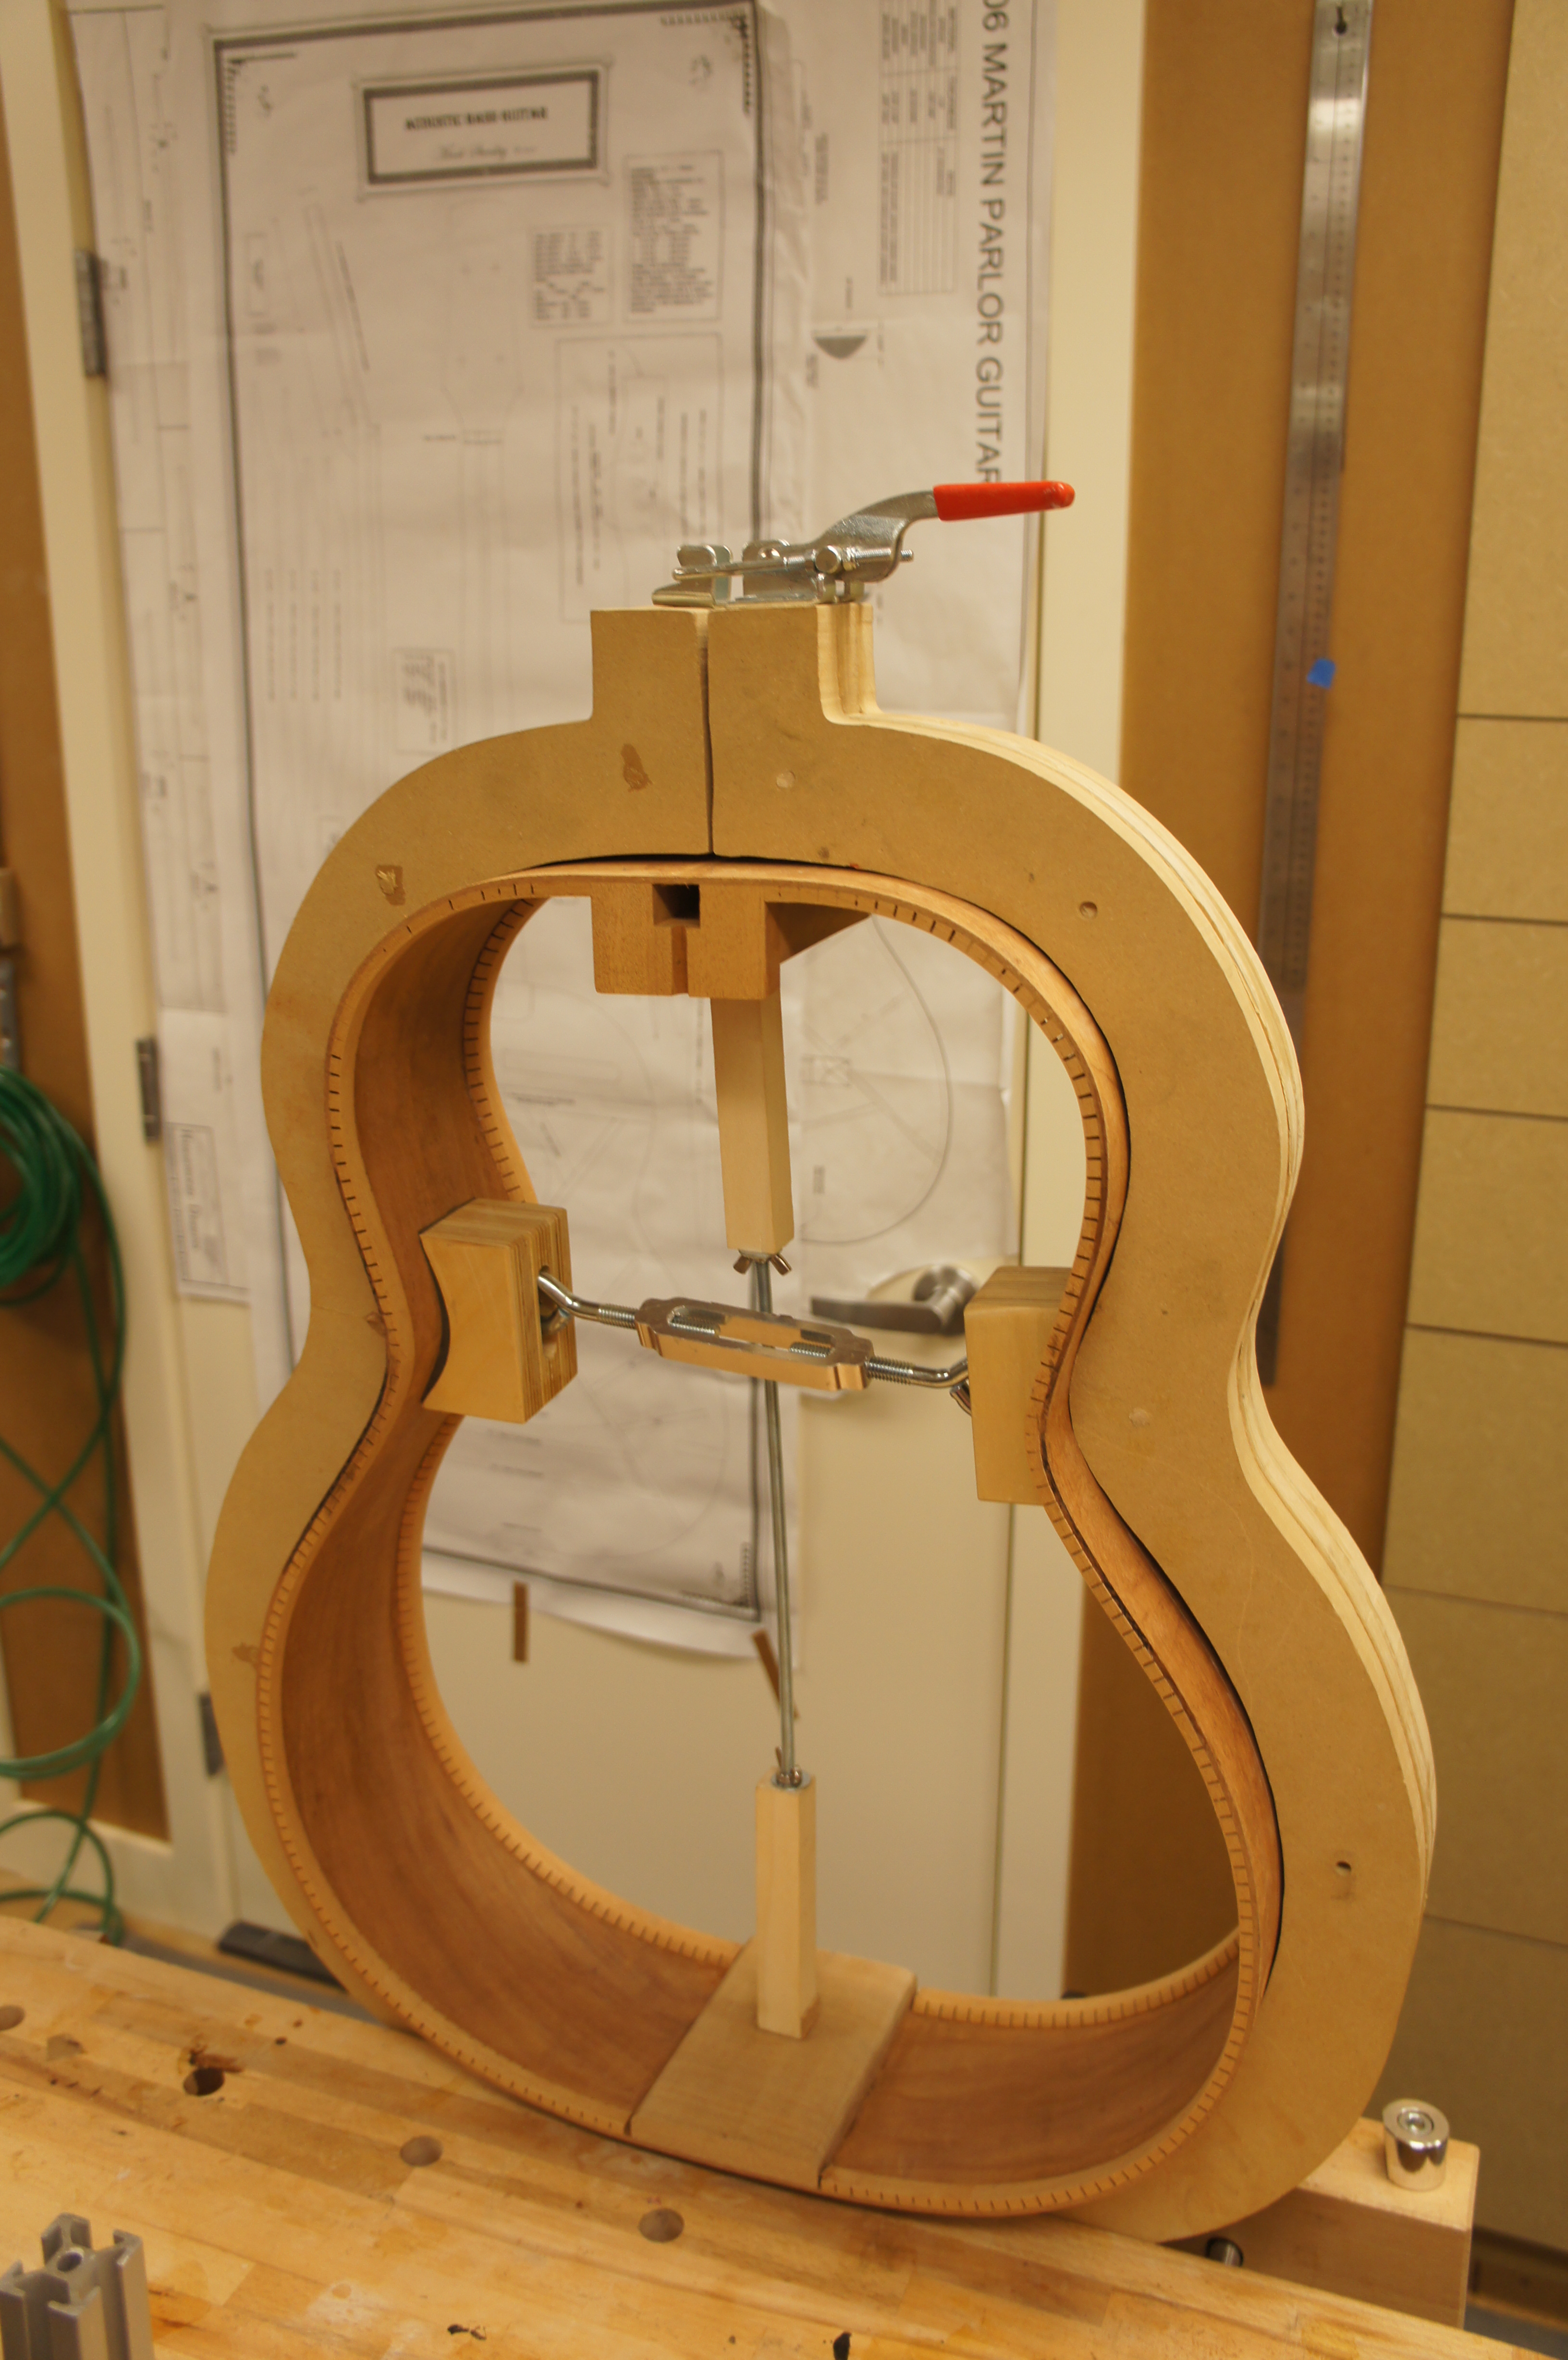
At this point, I have a mold and a template made, I need to hit the hardware store to get some parts to finish the internal clamps. The guitar is going to be huge. I include a picture of the may parlor guitar inside of the body mold of this bass guitar.
Jan 29th 2012
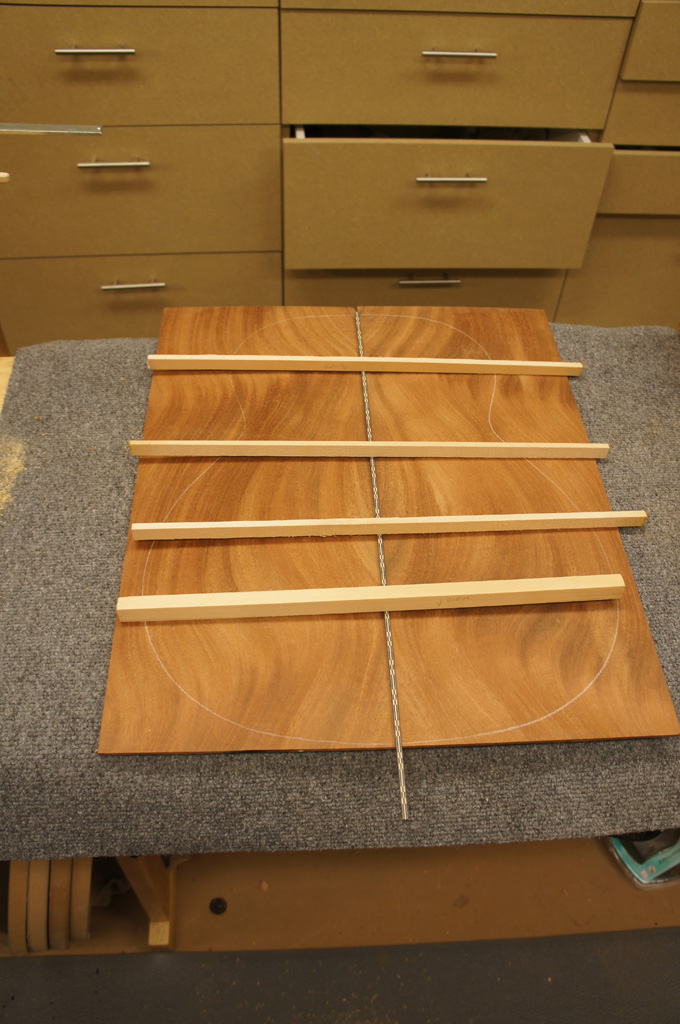
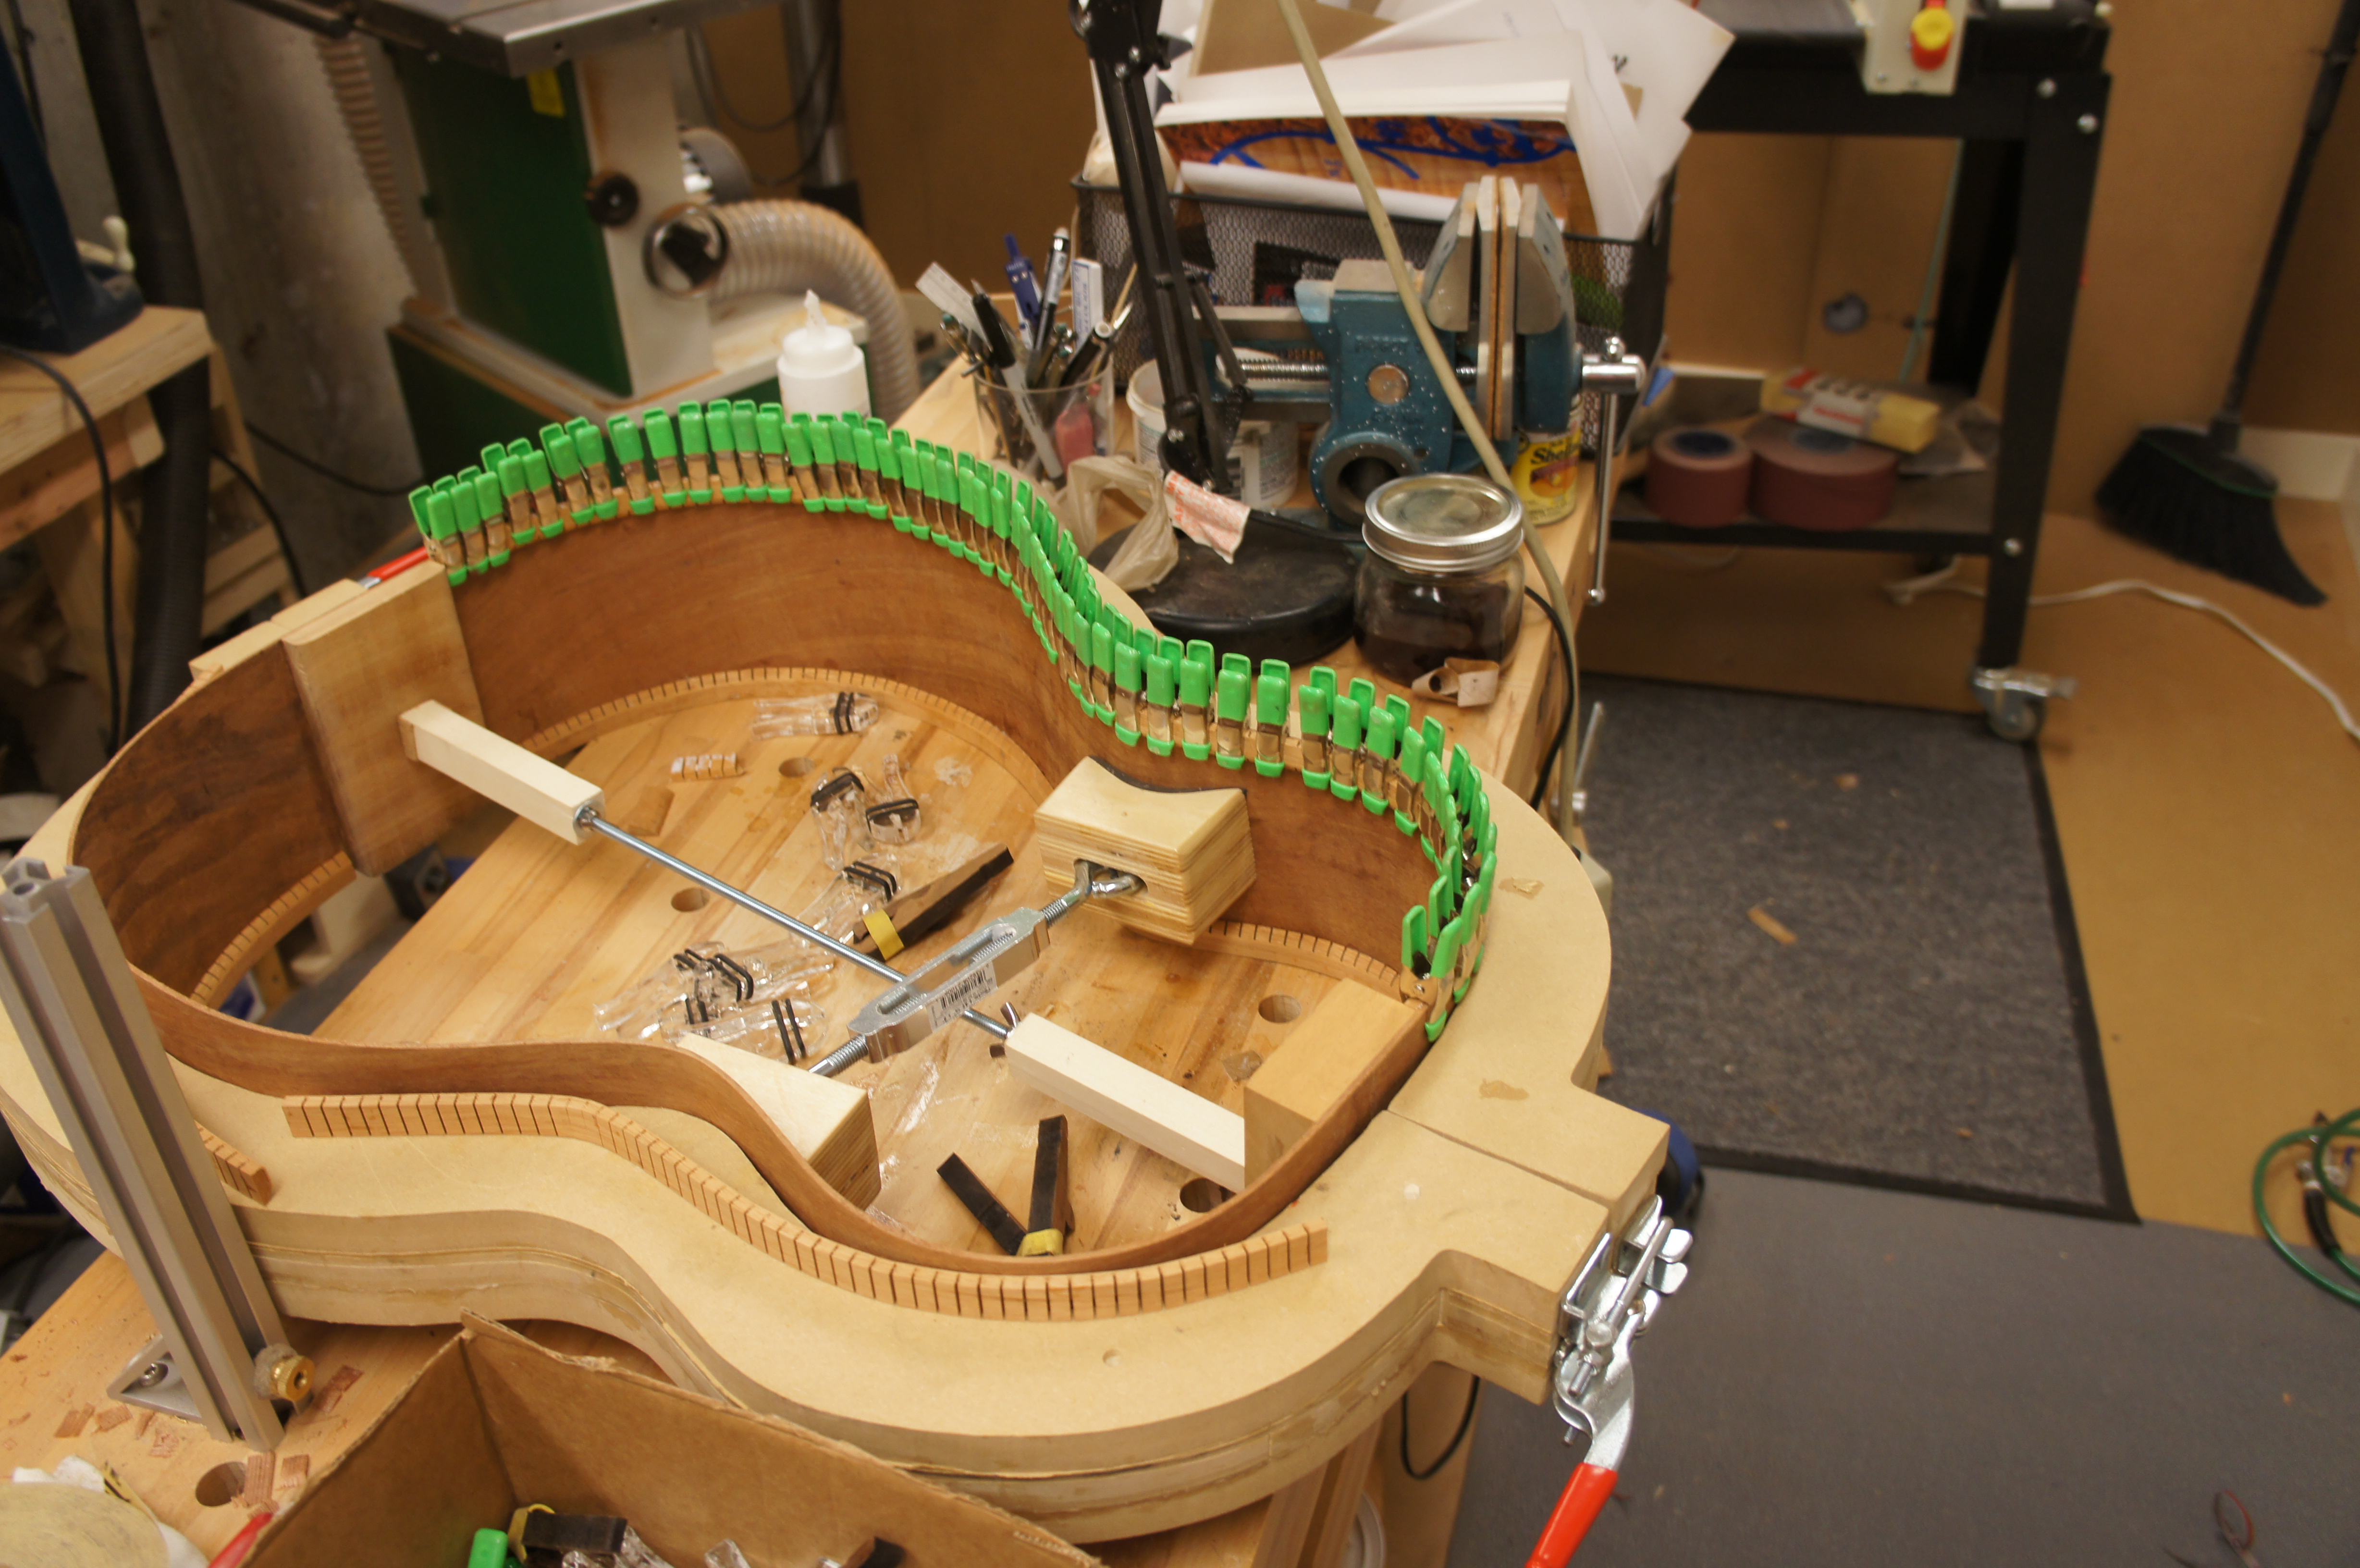
Managed to get a bit of work done on the bass guitar. I completed the rims including radiusing top and bottom with a 40' radius. It will be interesting to see how the back comes out. The plans called for the top and bottom brace to have a 40' radius and the middle 2 braces to have a 32' radius. My guess is Mark wanted a larger radius but the guitar is so big that he damped it down a bit. I am following his plan to see how it comes out. I went with reverse kerfling, top and bottom. I used a trick that I saw in a video of misting the kerfling, both sides, and clamping it to the outside of the rim until dry. It worked really well shaping the kerfling making the gluing a little more straigh forwards. You can see in the picture that the shape at least held a bit.
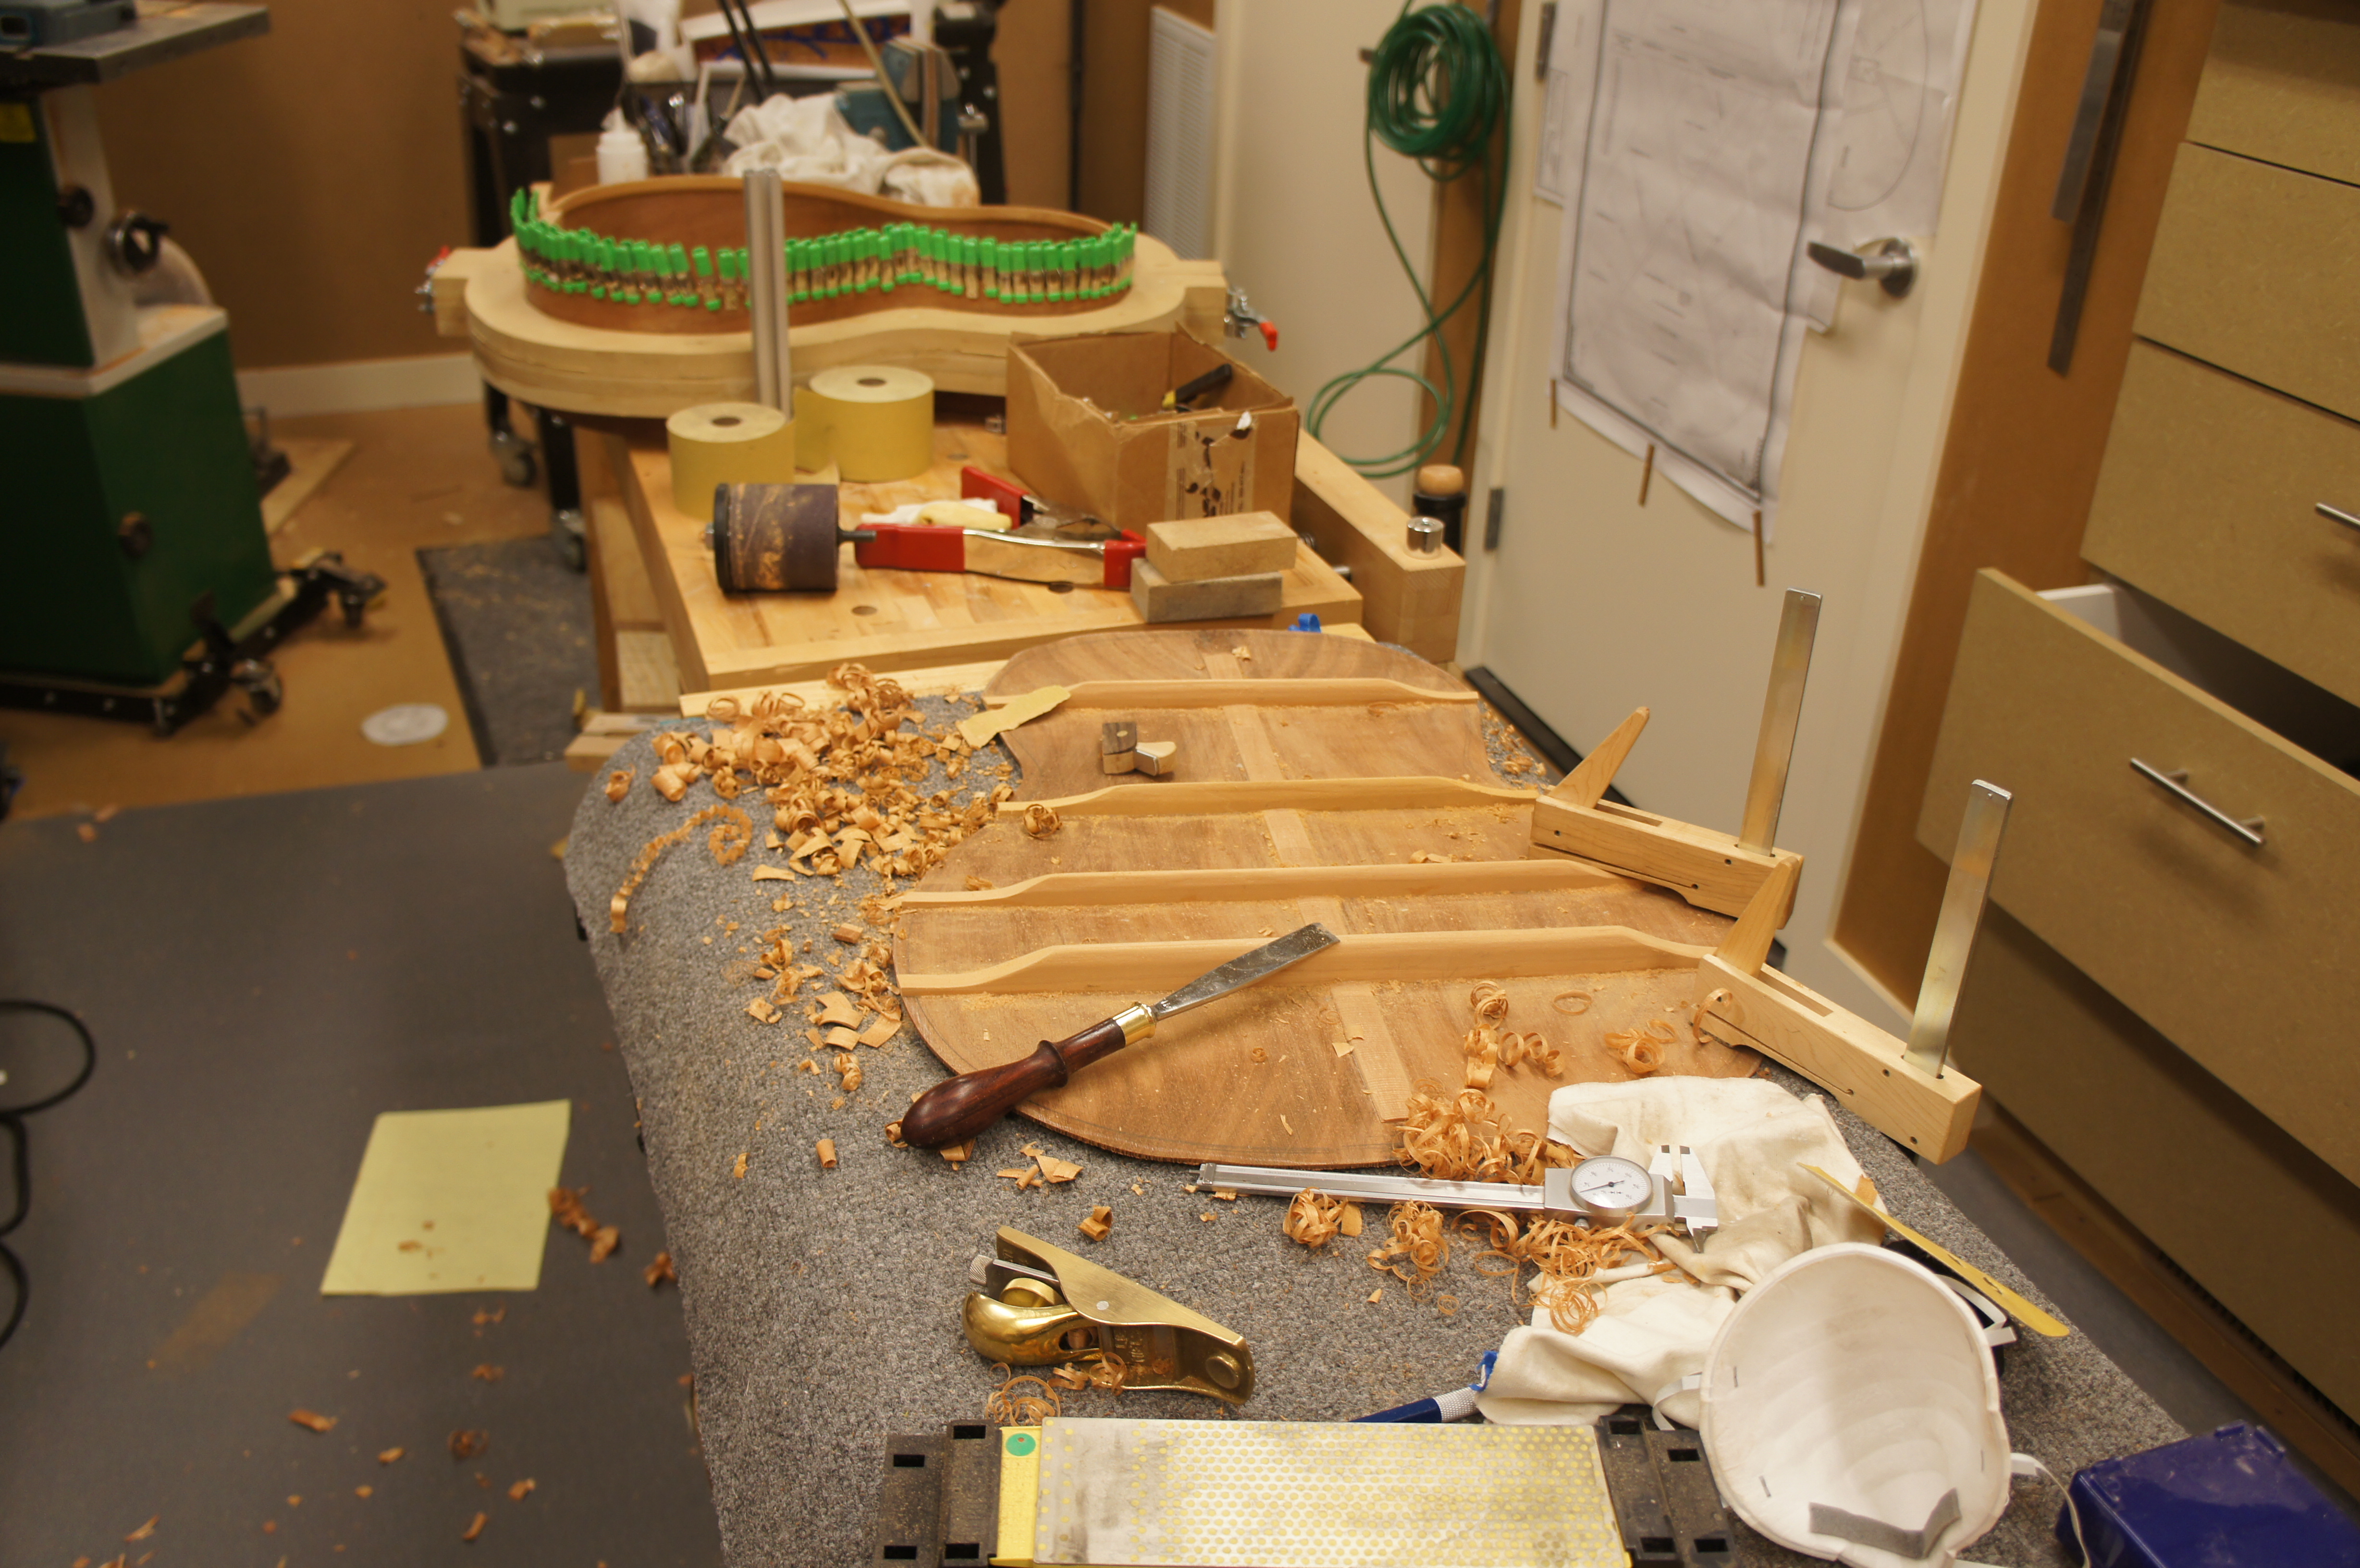
I have the back finsihed; the back braces are huge. The braces are spanish cedar
For electronics I did order a LR Baggs elmenet active system, an under the saddle pickup.
On to the top after lunch.
Jan 29th 2012
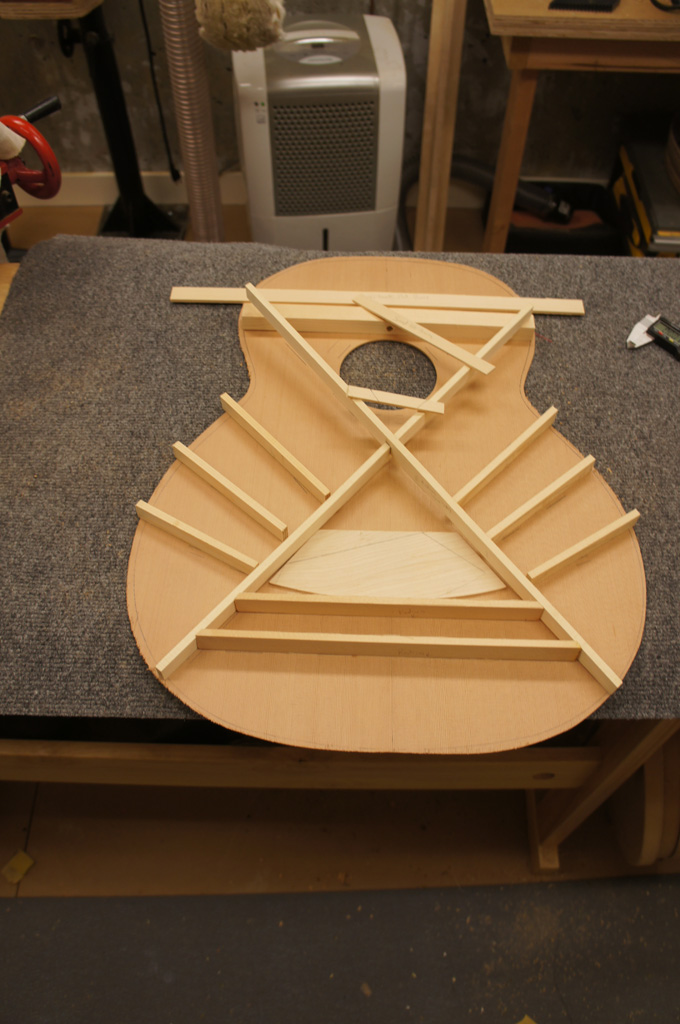
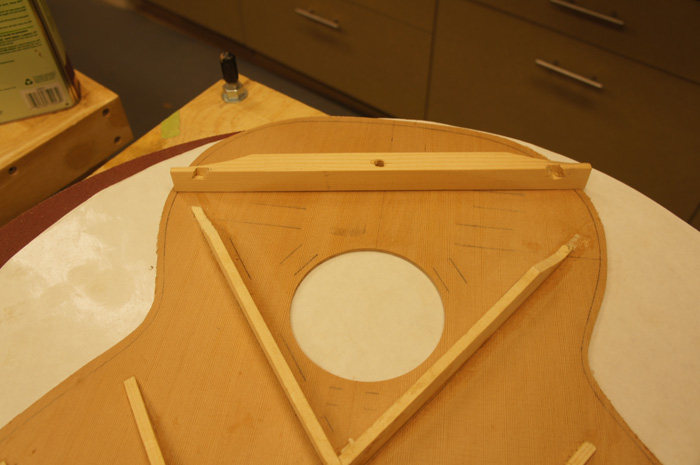
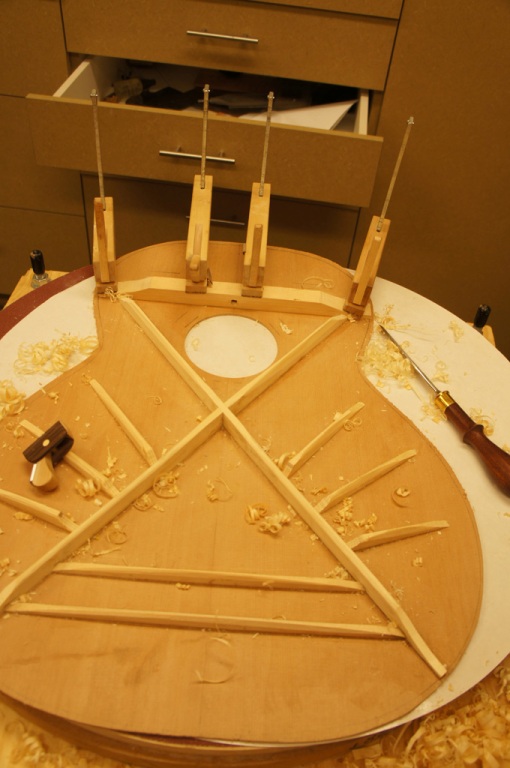
I braced the top minus the sanding, I followed the plan I got from Mark Stanley exactly, it is interesting that a completed body kit sort of did the opposite of me with regards to the transverse brace and the x-braces.
As shown in the picture I terminated the top of the x-braces into the massive transverse brace. The transverse brace for me goes into the sides, which will give the support I want for the x-brace.
A kit that I saw partially completed online terminated the x-braces into the rim and cut the transverse brace short to allow the x-braces to cross.
I followed the plan (I want to make a Mark Stanley:)but I was wondering if others had opinions on the two choices.
My braces:
Next Page
|
|

|
|

|

